Are you wondering how to percolate coffee camping? The simple answer is: it’s a classic, reliable method that involves heating water which then cycles through coffee grounds to produce a rich, flavorful brew. This guide walks you through everything you need to know, from the best gear to a step-by-step process for the perfect campfire coffee percolator experience.
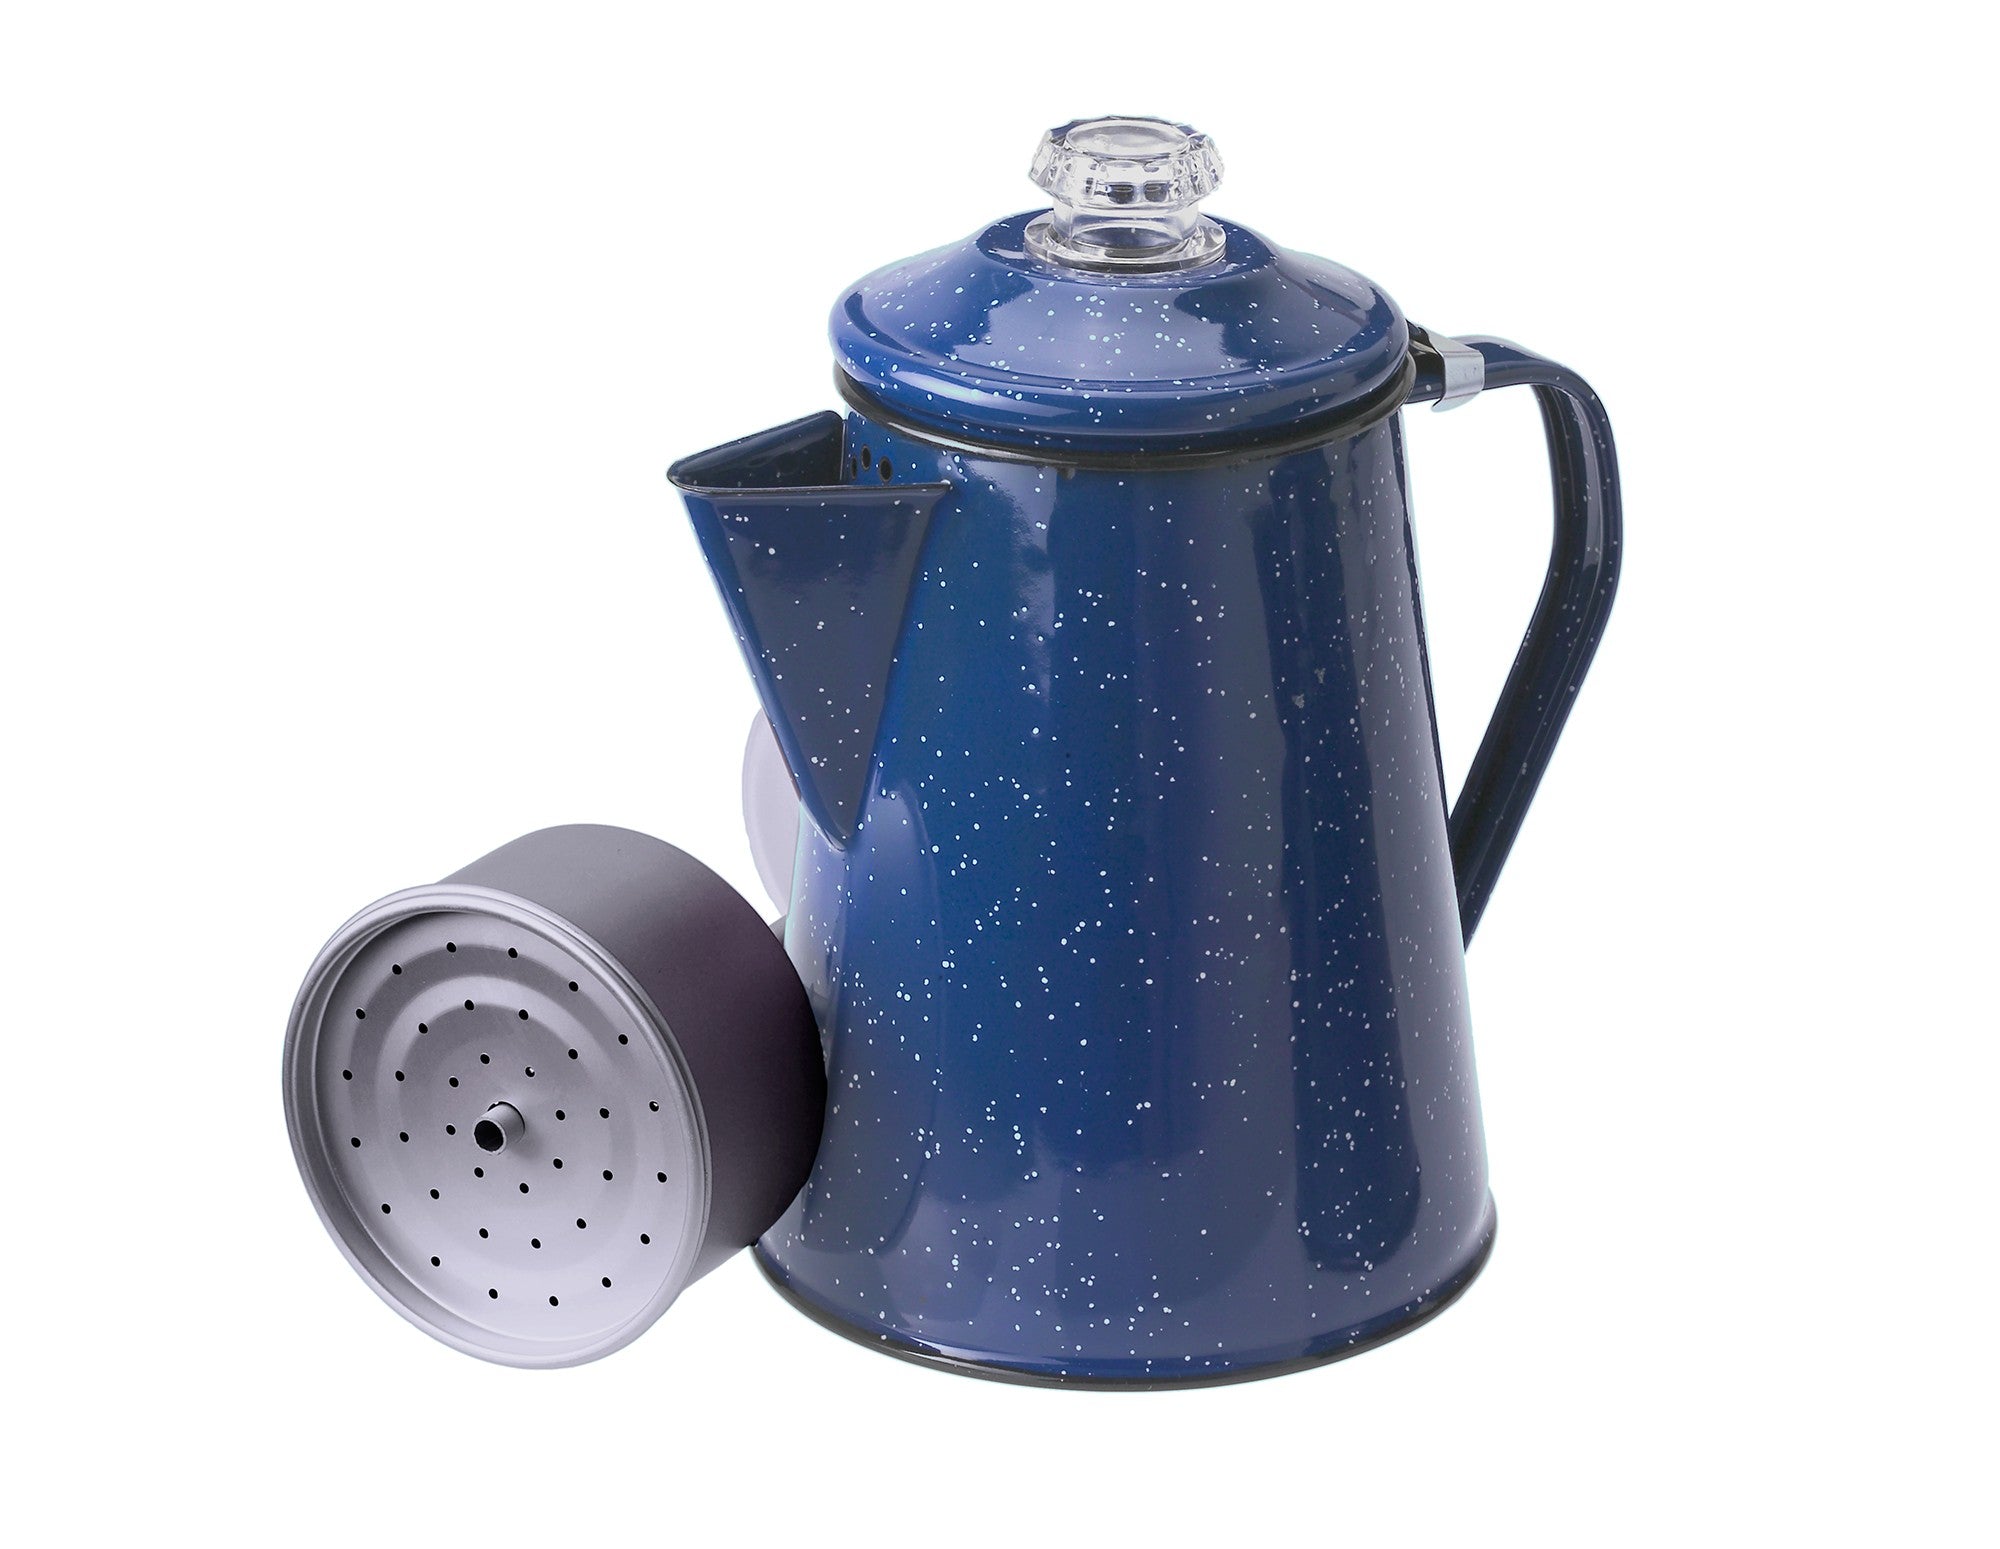
Image Source: gsioutdoors.com
Why Choose a Coffee Percolator for Camping?
Before diving into the details, let’s consider why a camping coffee percolator might be your best camping coffee brewing method:
- Durability: Percolators are typically made of stainless steel or enamelware, making them tough enough to withstand the rigors of outdoor life.
- Simplicity: No filters or complex setups are required.
- Full-Bodied Flavor: Many campers love the strong, bold flavor that percolators deliver.
- No Electricity Required: Perfect for off-grid adventures. A stovetop percolator camping setup can be used directly over a campfire or camping stove.
- Nostalgia: There’s a certain romance associated with brewing coffee over a campfire using a percolator.
Selecting the Right Camping Coffee Percolator
Choosing the best coffee percolator for camping involves considering a few key factors:
Material
- Stainless Steel: Durable, rust-resistant, and easy to clean. A popular choice.
- Enamelware: A classic look that can chip if not handled carefully. Provides even heat distribution.
Size
- Consider how many people you’ll be brewing for. Percolators come in sizes ranging from 2-cup to 12-cup or more. A 6-cup percolator is a good all-around choice for a small group.
Features
- See-Through Knob: Allows you to monitor the brewing process.
- Wide Base: Provides stability on uneven surfaces.
- Comfortable Handle: Important for safe pouring, especially when hot.
Recommended Coffee Percolators for Camping
| Percolator Model | Material | Capacity | Key Features |
|---|---|---|---|
| GSI Outdoors Glacier Stainless Percolator | Stainless Steel | 6-Cup | Durable, wide base, easy to clean |
| Coleman 9-Cup Percolator | Enamelware | 9-Cup | Classic look, good heat distribution |
| Farberware Classic Stainless Steel Percolator | Stainless Steel | 8-Cup | Stovetop safe, durable, dishwasher safe |
| Coletti Bozeman Coffee Percolator | Stainless Steel | 9-Cup | Built-in filter, sturdy construction, lifetime warranty |
Camping Coffee Equipment: What You’ll Need
Besides the percolator itself, here’s a list of camping coffee equipment you’ll want to have on hand:
- Coffee: Freshly ground coffee beans are best. Coarse or medium-coarse grind is recommended.
- Water: Filtered water is ideal for the best-tasting coffee.
- Heat Source: Campfire, camping stove, or portable propane stove.
- Lighter or Matches: To start your fire or light your stove.
- Measuring Cup or Spoon: For accurate coffee-to-water ratios.
- Mug: For enjoying your freshly brewed coffee.
- Pot Holder or Gloves: To protect your hands from the hot percolator.
- Towel or Rag: For wiping up spills and handling hot surfaces.
- Optional:
- Coffee grinder (if you prefer to grind your beans at the campsite)
- Cream and sugar or other sweeteners
- Spoon for stirring
- Trash bag for disposing of coffee grounds
Step-by-Step Guide: How to Percolate Coffee While Camping
Follow these steps for making coffee while camping using a percolator:
Step 1: Gather Your Supplies
Make sure you have all the necessary equipment and ingredients within easy reach. This includes your camping coffee percolator, coffee grounds, water, heat source, and mug.
Step 2: Assemble the Percolator
Ensure the percolator is clean. Place the basket inside the percolator. If your percolator has a spreader (a small metal disc that sits on top of the coffee grounds), make sure it’s in place.
Step 3: Add Coffee Grounds
Add coffee grounds to the basket. A general guideline is 1-2 tablespoons of coffee per cup (6 oz) of water. Adjust to your taste preferences.
Step 4: Add Water
Pour water into the percolator. Fill it to the desired level, but make sure the water level is below the bottom of the basket.
Step 5: Place on Heat Source
- Campfire: Place the percolator directly on the campfire grill or use a tripod stand to suspend it over the flames. Be careful to avoid direct contact with very intense flames, which can overheat the coffee and produce a bitter taste.
- Camping Stove: Place the percolator on the camping stove burner. Adjust the flame to medium heat.
Step 6: Monitor the Brewing Process
Watch the percolator closely. You’ll see bubbles rising through the clear knob on top. This is the percolation process.
Step 7: Adjust Heat as Needed
Once the percolation starts, reduce the heat slightly. You want a gentle, steady percolation, not a vigorous boil. Over-boiling can lead to bitter coffee.
Step 8: Brew for 6-10 Minutes
Brew the coffee for 6-10 minutes, depending on your desired strength. The longer you brew, the stronger the coffee will be.
Step 9: Remove from Heat and Let Settle
Carefully remove the percolator from the heat source using pot holders or gloves. Let the coffee settle for a minute or two before pouring. This allows the coffee grounds to settle to the bottom.
Step 10: Serve and Enjoy
Pour the coffee into your mug and enjoy! Add cream, sugar, or other sweeteners as desired.
Percolator Coffee Camping Tips for a Better Brew
Here are some percolator coffee camping tips to help you make the perfect cup:
- Use Coarse Ground Coffee: A coarser grind prevents grounds from seeping through the basket and into your coffee.
- Don’t Over-Brew: Over-brewing leads to bitter coffee. Keep a close eye on the percolation process and remove from heat when it reaches your desired strength.
- Use Filtered Water: Filtered water removes impurities that can affect the taste of your coffee.
- Clean Your Percolator Regularly: Regular cleaning prevents buildup of coffee oils and residue, which can also affect the taste.
- Experiment with Coffee-to-Water Ratios: Find the ratio that suits your taste preferences.
- Control the Heat: Avoid high heat, which can scorch the coffee. A gentle, steady percolation is key.
- Consider a Heat Diffuser: If using a stove, a heat diffuser can help distribute heat evenly and prevent hot spots.
- Preheat the Water: Preheating the water in a separate pot can speed up the brewing process.
- Cool Down Before Cleaning: Let the percolator cool down completely before cleaning to avoid burns.
Different Camping Coffee Brewing Methods
While the percolator is a classic choice, here’s a look at other popular camping coffee brewing methods:
| Method | Pros | Cons | Equipment Required |
|---|---|---|---|
| Percolator | Durable, simple, full-bodied flavor, no electricity needed | Can produce bitter coffee if over-brewed | Percolator, heat source |
| French Press | Rich, full-bodied flavor, simple to use | Requires more cleaning, can be bulky | French press, hot water |
| Pour Over | Clean, bright flavor, customizable brewing | Requires more attention, can be fragile | Pour-over device, filter, hot water, gooseneck kettle |
| AeroPress | Smooth, concentrated coffee, compact | Requires special filters, smaller capacity | AeroPress, filter, hot water |
| Instant Coffee | Quick and easy, lightweight | Lacks flavor compared to other methods | Hot water, instant coffee |
| Cowboy Coffee | Simple, rustic, minimal equipment | Can be gritty, requires careful technique | Pot, water, coffee grounds, heat source |
| Moka Pot | Strong, espresso-like coffee | Requires specific stovetop, can be difficult to clean | Moka pot, stovetop |
Maintaining Your Coffee Percolator for Long-Term Use
Proper maintenance will extend the life of your outdoor coffee percolator. Follow these tips:
- Clean After Each Use: Wash the percolator with soap and water after each use.
- Remove Coffee Stains: Use a mixture of baking soda and water to remove stubborn coffee stains.
- Dry Thoroughly: Ensure the percolator is completely dry before storing it to prevent rust.
- Store Properly: Store the percolator in a dry place.
- Check for Damage: Inspect the percolator regularly for any signs of damage, such as cracks or dents.
Coffee Percolator Camping Grounds: Where to Brew
When choosing a coffee percolator camping grounds location, consider the following:
- Accessibility to Water: Choose a spot near a water source (river, stream, or bring your own).
- Safe Fire Location: If using a campfire, make sure it’s in a designated fire pit or ring and that you have a clear area around it.
- Stable Surface: Choose a flat, stable surface for your stove or tripod.
- Weather Protection: Consider the weather conditions. A sheltered spot can protect you from wind and rain.
- Leave No Trace: Pack out all trash and leave the campsite as you found it.
Fathoming the Variables of Coffee Flavor
Many factors contribute to the final flavor of your percolated coffee. These elements can be adjusted to meet your particular tastes:
- Coffee Bean Origin: Just like wine, different regions produce coffee beans with distinctly different flavor profiles.
- Roast Level: Light roasts preserve more of the bean’s original character, resulting in brighter, more acidic coffees. Darker roasts offer bolder, smokier, and often chocolatey notes.
- Grind Size: As discussed, the grind impacts extraction. Finer grinds expose more surface area, leading to quicker and stronger extraction, while coarser grinds extract more slowly, producing a lighter body and less bitterness.
- Water Quality: The mineral content and pH of the water significantly affect coffee extraction and taste.
- Brewing Time: The longer the coffee grounds are in contact with water, the stronger the resulting coffee. Experiment to find the optimal balance for your tastes.
- Coffee-to-Water Ratio: The ratio of coffee grounds to water directly influences the strength and concentration of the brew.
- Water Temperature: Hot water extracts more flavor and oils from coffee grounds than cooler water. The ideal range for brewing is typically between 195°F and 205°F.
Frequently Asked Questions (FAQ)
Q: What is the best grind size for a coffee percolator?
A: A coarse or medium-coarse grind is generally recommended for percolators. This helps prevent coffee grounds from seeping through the basket.
Q: Can I use a paper filter in my coffee percolator?
A: While percolators are designed to be used without paper filters, some people choose to add one to reduce sediment. Cut a filter to fit the bottom of the basket or line the entire basket with a larger filter.
Q: Who is most likely to enjoy percolator coffee while camping?
A: Campers who appreciate a bold, full-bodied coffee flavor and enjoy the simplicity and durability of a classic brewing method. Those who prefer a more nuanced, delicate coffee might prefer pour-over or French press.
Q: Can I use a percolator on an induction stovetop?
A: No. Percolators need to be used over either a open flame (campfire) or an electric/gas stove to work properly.
My name is Gareth Lewis, and I’m the voice behind CampingGuider.com.. I created this space to share my passion for camping and the great outdoors. With years of experience and countless adventures under my belt, I aim to inspire and guide fellow enthusiasts. Whether you’re a seasoned camper or a curious beginner, my goal is to provide you with practical tips, honest reviews, and insights to help you make the most out of your outdoor escapades. Join me on this journey, and let’s explore the beauty of nature together!